To waterproof a bathroom floor without removing the tiles, find and fix any pipe leak first, then rake out the cracked grout and refill the joints with waterproof grout, and replace the silicone at every edge. For full protection, clean and prime the old tiles, roll on a liquid membrane and tile over it. This guide gives you every step in order, with what to use and what to check.
The Full Step by Step Method to Waterproof a Bathroom Floor Without Removing the Tiles
=What You Need Before You Start
- A grout saw or an oscillating tool with a grout blade
- Waterproof grout, either epoxy or a water resistant cementitious type, and a rubber float
- Mould resistant sanitary silicone and a sealant gun
- Masking tape and a finishing tool
- Primer, liquid membrane and reinforcing tape for the full waterproof route
- A dust mask, goggles and a vacuum
Find Out Where the Water Is Coming From
Grout cannot be blamed for a pipe leak, so check the cause first. Look for these signs:
- Water stains on the ceiling below the bathroom
- Damp or soft patches around the bath, shower tray or toilet
- Black mould along the grout lines or skirting
- A stain that grows when nobody is using the bathroom, which points to a pipe or waste leak
If you suspect a pipe, our water leak detection service can trace the source before you spend money on the wrong repair.
Not sure whether the leak is from a pipe or the grout?
Get your free quote Call 07477 863654Check Every Tile Is Firmly Bonded
Tap each tile with the handle of a screwdriver. A hollow sound means the tile has come away from the floor.
- Lift and rebed any loose tile before you do anything else
- Replace cracked or chipped tiles
- Stop and read the section on removing tiles if many of them sound hollow
Clean the Floor Properly
Sealant, grout and membrane will not stick to dirt or damp. Remove soap scum, limescale and mould with a suitable bathroom cleaner, rinse well, and let the floor dry completely. A fan or dehumidifier speeds this up.
Rake Out the Old Grout
- Run the grout saw along each joint, keeping the blade away from the tile edges
- Remove the old grout to at least two thirds of its depth
- Vacuum every joint so no dust or crumbs are left behind
- Wipe with a damp cloth and let the joints dry
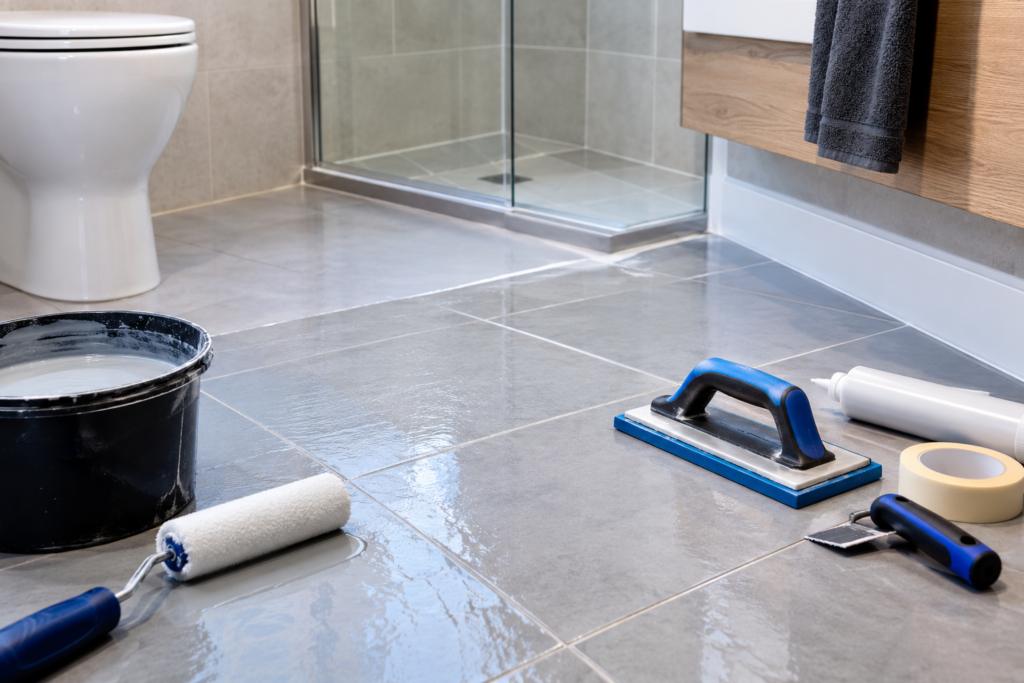
Refill the Joints With Waterproof Grout
- Mix the grout exactly as the pack says. Epoxy grout has a short working time, so mix small batches.
- Press it into the joints with a rubber float, working diagonally across the tiles
- Wipe the excess off the tile face straight away, because epoxy is very hard to remove once set
- Let it cure for the time on the pack before the floor gets wet
Replace the Silicone at Every Edge
Silicone is for movement joints, so use it where the floor meets the wall, around the bath and shower tray, around the toilet base and around pipes.
- Cut out all the old silicone and clean the gap, because new sealant will not stick to old
- Mask both sides of the joint with tape for a neat line
- Apply a steady bead of mould resistant sanitary silicone
- Smooth it with a finishing tool and peel off the tape while it is still wet
- Leave it to cure for the time on the pack, often 24 hours, before water touches it
Prime the Tiles and Apply a Liquid Membrane
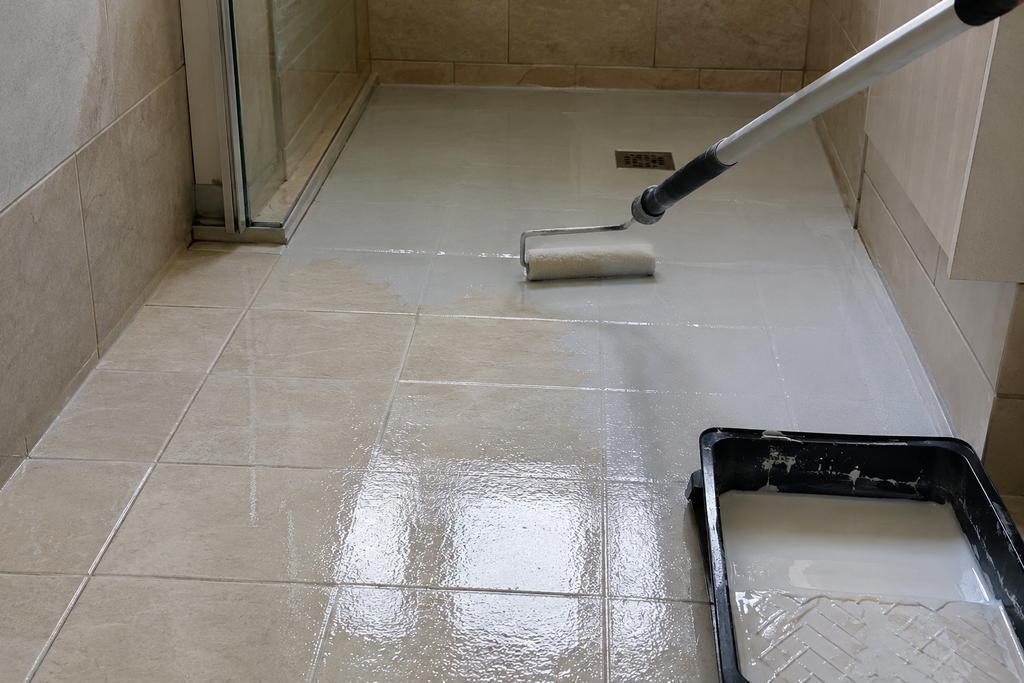
A liquid membrane is a flexible coating that forms a waterproof layer. Check that the maker says tiles can be laid over it.
- Prime the tiles with the primer the membrane maker recommends for glazed surfaces
- Press reinforcing tape into the corners, the wall and floor joint, and around the waste and pipes
- Apply the first coat across the whole floor and up the walls to the height the maker advises
- Add the second coat once the first has dried, following the maker’s timings
- Let it cure fully before tiling
Tile Over the Membrane
- Use an adhesive approved for the membrane you chose
- Pick slim tiles to keep the rise in floor height small
- Check doors, thresholds and the toilet pan before you start, because the floor will sit higher
- Grout and seal the new tiles using Steps 5 and 6
Test the Floor Before Normal Use
- Wait for the full cure time of every product
- Run the shower or pour water near the edges and look for seepage
- Check the ceiling below and the skirting over the next day
- Reseal any gaps straight away
Which Grout Is Best for a Bathroom Floor?
| Grout type | Best for | Watch out for |
|---|---|---|
| Epoxy grout | Floors that get very wet, such as wet rooms | Harder to use and clean |
| Water resistant cementitious grout | Most bathroom floors, easy to apply | Porous, so it may need sealing |
| Flexible grout | Floors with slight movement, such as timber | Check the pack suits wet areas |
Always choose a grout labelled for wet areas, and follow the manufacturer’s instructions.
Is Tile Grout Waterproof?
Tiles are waterproof, but standard cement grout is not. It is porous, which is why most bathroom floor leaks begin in the joints. Epoxy and water resistant grouts hold out water much better, but even they cannot fix a pipe leak or a failed waterproof layer underneath the tiles.
Can Sealers and Surface Coatings Waterproof a Bathroom Floor?
Sealers and paint on coatings are often sold as quick fixes. A grout sealer can help repel water and stains from clean, sound grout, and it is a useful finishing step after regrouting. But a sealer on its own is not a waterproofing system. It cannot bridge a gap at the wall edge or repair a floor that is already leaking, and it can seal a problem in rather than fix it. Treat sealers as maintenance, not as a substitute for a membrane.
When You Must Remove the Tiles
Removing tiles is a last resort, but some situations leave no other choice.
- The tiles are loose or hollow.The bond has failed, so surface repairs will fail too.
- The floor underneath is damaged.Soft or rotten boards or crumbling screed must be repaired.
- There is mould or damp under the tiles.It will keep coming back if it is trapped.
- Water is coming through to the ceiling below.The leak path needs to be found and rebuilt properly.
- A wet room floor was never tanked.Without a waterproof layer, it will leak again.
Think your floor needs more than a surface fix?
Request a free quote Call DynamicPlumb on 07477 863654This comes up a lot in 1930s semis, where the bathroom sits on timber joists above the kitchen or hallway and a slow leak can go unnoticed for years. If the floor does have to come up, we plan the waterproofing and drainage before anything else on every bathroom installation in Welling.
How to Keep a Bathroom Floor Watertight After the Repair
- Ventilate. Use the extractor fan during and after showers.
- Wipe up puddles and do not leave wet mats on the floor.
- Check the silicone twice a year. Replace it when it cracks, peels or turns black.
- Look at the grout for new cracks, especially near the shower and bath.
How DynamicPlumb Helps With Leaking Bathroom Floors
DynamicPlumb (Dynamic Plumbing & Maintenance)
Helping homeowners, landlords and businesses across Milton Keynes and nearby towns. More than 20 years of plumbing experience and 215 Checkatrade reviews with a 9.93 out of 10 rating.
- Leak tracing. If water is coming through the floor, our water leak detection service helps find the source.
- Plain advice. Tell us what you see, and we will say whether it looks like a pipe problem or a tile and grout problem.
- Free, no obligation estimates so you know the cost before work starts.
- Rebuilding the room. If the floor has to come up, see our bathroom installation service in Milton Keynes.
- 24/7 availability for urgent plumbing problems.
Frequently Asked Questions About Waterproofing a Bathroom Floor
Can I use silicone on cracked floor grout?
No. Silicone is for movement joints, such as the edge where the floor meets the wall. Cracked grout lines should be raked out and regrouted.
How do I know if my bathroom floor leak is from a pipe?
If the damp patch grows when nobody is using the bathroom, a pipe or waste leak is likely. A plumber can trace it before you start any tile repair.
How long should I wait before using the bathroom?
Follow the cure time on every product you used. Silicone often needs about 24 hours, but grout, primer and membrane can differ, so check each pack.
Leaking Bathroom Floor in Milton Keynes?
Find the cause first and fix it once. Call DynamicPlumb on 07477 863654 or request a free quote through our bathroom installation page. New customers can get 10% off their first qualifying job, and we are available 24/7 for urgent plumbing problems.