
How to Waterproof a Bathroom Floor Without Removing the Tiles?
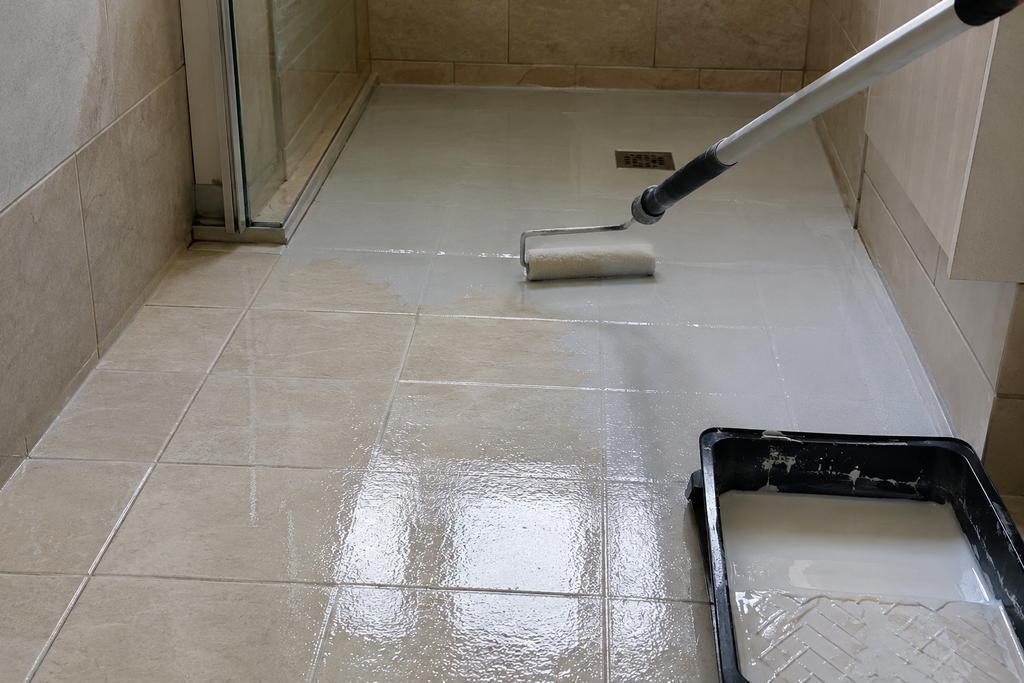
Quick answer: To waterproof a bathroom floor without removing the tiles, find and fix any pipe leak first, then rake out the cracked grout and refill the joints with waterproof grout, and replace the silicone at every edge. For full protection, clean and prime the old tiles, roll on a liquid membrane and tile over it. This guide gives you every step in order, with what to use and what to check. The Full Step by Step Method to Waterproof a Bathroom Floor Without Removing the Tiles = What You Need Before You Start A grout saw or an oscillating tool with a grout blade Waterproof grout, either epoxy or a water resistant cementitious type, and a rubber float Mould resistant sanitary silicone and a sealant gun Masking tape and a finishing tool Primer, liquid membrane and reinforcing tape for the full waterproof route A dust mask, goggles and a vacuum 1 Find Out Where the Water Is Coming From Grout cannot be blamed for a pipe leak, so check the cause first. Look for these signs: Water stains on the ceiling below the bathroom Damp or soft patches around the bath, shower tray or toilet Black mould along the grout lines or skirting A stain that grows when nobody is using the bathroom, which points to a pipe or waste leak If you suspect a pipe, our water leak detection service can trace the source before you spend money on the wrong repair. Not sure whether the leak is from a pipe or the grout? Get your free quote Call 07477 863654 2 Check Every Tile Is Firmly Bonded Tap each tile with the handle of a screwdriver. A hollow sound means the tile has come away from the floor. Lift and rebed any loose tile before you do anything else Replace cracked or chipped tiles Stop and read the section on removing tiles if many of them sound hollow 3 Clean the Floor Properly Sealant, grout and membrane will not stick to dirt or damp. Remove soap scum, limescale and mould with a suitable bathroom cleaner, rinse well, and let the floor dry completely. A fan or dehumidifier speeds this up. 4 Rake Out the Old Grout Run the grout saw along each joint, keeping the blade away from the tile edges Remove the old grout to at least two thirds of its depth Vacuum every joint so no dust or crumbs are left behind Wipe with a damp cloth and let the joints dry 5 Refill the Joints With Waterproof Grout Mix the grout exactly as the pack says. Epoxy grout has a short working time, so mix small batches. Press it into the joints with a rubber float, working diagonally across the tiles Wipe the excess off the tile face straight away, because epoxy is very hard to remove once set Let it cure for the time on the pack before the floor gets wet 6 Replace the Silicone at Every Edge Silicone is for movement joints, so use it where the floor meets the wall, around the bath and shower tray, around the toilet base and around pipes. Important: do not use silicone to fill the grout lines between floor tiles. Cut out all the old silicone and clean the gap, because new sealant will not stick to old Mask both sides of the joint with tape for a neat line Apply a steady bead of mould resistant sanitary silicone Smooth it with a finishing tool and peel off the tape while it is still wet Leave it to cure for the time on the pack, often 24 hours, before water touches it Steps 1 to 6 are enough for most floors. Carry on only for a full waterproof layer. 7 Prime the Tiles and Apply a Liquid Membrane A liquid membrane is a flexible coating that forms a waterproof layer. Check that the maker says tiles can be laid over it. Prime the tiles with the primer the membrane maker recommends for glazed surfaces Press reinforcing tape into the corners, the wall and floor joint, and around the waste and pipes Apply the first coat across the whole floor and up the walls to the height the maker advises Add the second coat once the first has dried, following the maker’s timings Let it cure fully before tiling 8 Tile Over the Membrane Use an adhesive approved for the membrane you chose Pick slim tiles to keep the rise in floor height small Check doors, thresholds and the toilet pan before you start, because the floor will sit higher Grout and seal the new tiles using Steps 5 and 6 9 Test the Floor Before Normal Use Wait for the full cure time of every product Run the shower or pour water near the edges and look for seepage Check the ceiling below and the skirting over the next day Reseal any gaps straight away Which Grout Is Best for a Bathroom Floor? Grout type Best for Watch out for Epoxy grout Floors that get very wet, such as wet rooms Harder to use and clean Water resistant cementitious grout Most bathroom floors, easy to apply Porous, so it may need sealing Flexible grout Floors with slight movement, such as timber Check the pack suits wet areas Always choose a grout labelled for wet areas, and follow the manufacturer’s instructions. Is Tile Grout Waterproof? Tiles are waterproof, but standard cement grout is not. It is porous, which is why most bathroom floor leaks begin in the joints. Epoxy and water resistant grouts hold out water much better, but even they cannot fix a pipe leak or a failed waterproof layer underneath the tiles. Can Sealers and Surface Coatings Waterproof a Bathroom Floor? Sealers and paint on coatings are often sold as quick fixes. A grout sealer can help repel water and stains from clean, sound grout, and it is a useful finishing step after regrouting. But a sealer on its own is not
Can I Get Just My Shower Replaced Without a Full Refit?
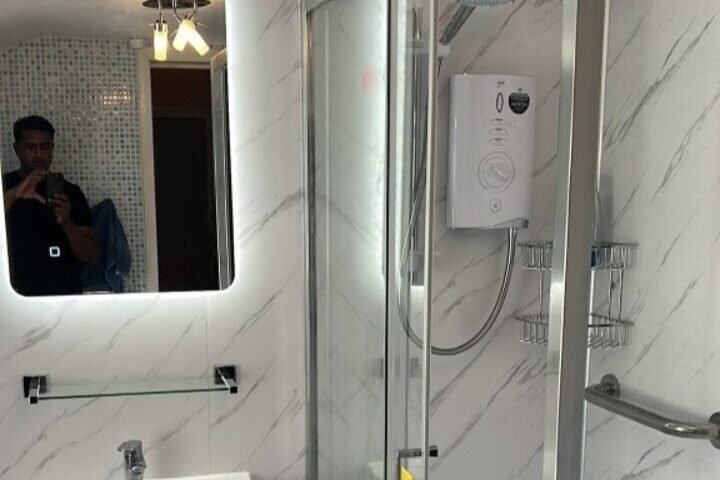
Quick answer: Shower replaced without a full refit? Yes, you can. In most homes a shower replacement is a separate job from a full bathroom refit. A new shower head, shower valve or electric shower can often be swapped in half a day. A new shower tray and shower enclosure takes longer, usually one to two days, but it still does not mean ripping out the whole bathroom. This guide explains which jobs are simple, how long each one takes, and when a bigger project makes more sense. The Quick Answer: What You Can Replace on Its Own Shower head, hose and riser rail. A simple swap with no tiling and no pipework changes. Shower valve or mixer. Often straightforward when the valve is exposed on the wall. Electric shower. A like for like swap on an existing circuit is a short job. Shower tray and enclosure. Possible without touching the rest of the bathroom, but the tiles around the base usually need work. Shower pump. If a pump fails, it is normally replaced on its own. The answer depends on three things: the type of shower you have, what sits behind the wall, and whether the new shower matches the old one. Want a plumber to look at your shower? or call Now Shower Replaced Without a Full Refit: Which Jobs Qualify Which Shower Replacements Do Not Need a Full Refit Most shower jobs are simple swaps. Find your job below to see how big it really is. Easiest job Replacing a shower head, hose or riser rail The old parts come off and the new ones go on. Nothing behind the tiles is touched. Your shower works but looks tired, or the hose has split? This is all you need. Simple to moderate Replacing a shower valve or mixer A thermostatic mixer shower blends hot and cold water through one valve. There are two main types: Exposed bar valve. Sits on the wall surface. Replacing the whole valve is usually simple and often better than fitting a new cartridge. Concealed valve. Sits behind the tiles. A like for like swap can work through the existing opening, but a different valve may mean opening the wall. Same cable, same pipes Replacing an electric shower An electric shower heats its own water from the cold mains. If the new unit matches the old one in power and position, the job uses the same cable and the same pipe connections. Check the rating first. A more powerful unit may need a thicker cable. Bigger job, still not a refit Replacing a shower tray and enclosure A leaking or cracked tray needs full replacement. The usual steps are: Remove the enclosure panels and the old tray. Fit the new tray level, with a new waste. Seal and waterproof the edges. Refit the enclosure and screen. This is a bigger job, but it is still a shower job, not a refit. How Long a Shower Replacement Takes and What Slows It Down Most shower jobs are quicker than people expect. Here is a rough guide to the time and disruption for each one. Job Typical time Mess and disruption New shower head, hose and rail Under an hour None Electric shower, like for like Half a day Low Mixer shower valve, like for like Half a day Low, or medium if the valve is concealed Tray and enclosure replacement 1 to 2 days Medium, and the sealant needs time to set What slows a shower replacement down A concealed valve that needs the wall opened New tiles or wall panels, which add fitting and drying time Pipework that has to be moved or replaced Parts that are not on site, such as a tray in a special size Electrical work to bring the cable up to standard Can You Replace a Shower Without Removing the Tiles? Sometimes. It depends on what you are replacing. Yes Shower head, hose and exposed valve: usually no tile removal. Maybe Concealed valve: often possible through the existing hole, but not always. Yes Electric shower: when the new unit fits the old position. No Shower tray: the tiles around the base normally have to come off. If the new shower will not line up with the old tile pattern, you have options: Option 1Retile only the shower area and add a border or feature strip Option 2Fit wall panels in the shower space Option 3Retile the whole wall if you want a perfect match Tell your plumber early which option you prefer, because it changes the price. Check Your Water System Before You Choose a New Shower Your hot water system decides which shower will work well. A shower that is wrong for your system will disappoint you, however good it looks. Works well Combi boiler A thermostatic mixer shower usually works well. An electric shower is another option. May need a pump Gravity fed system with a loft tank Pressure is often low, so you may need a shower pump to get a good flow. Works well Unvented cylinder Pressure is usually strong, so most mixer showers work well. Check first Pump already fitted Check that your new shower is compatible with it. Electrical Rules When You Replace an Electric Shower Under Part P of the Building Regulations, installing a new circuit for an electric shower is notifiable work. Replacing an existing electric shower with a new one on the same circuit is not notifiable, as long as it is a like for like swap. That is why it is worth checking the circuit before you pick the new model. If the new shower is more powerful, the cable and the protective device may be too small, and then the job can become notifiable. The work should be done by a competent person, and you should ask what certificate you will receive when it is finished. If an electrician is needed, a good plumber will tell you plainly at the quote stage. When a Full Refit